
Nima Studio Art ePatterns — Smart Pattern Generator V4.0.0
Adapted Cross-Stitch Patterns for Water-Soluble Materials: Complete Guide
Welcome to the interactive workspace of Nima SA ePatterns! Our “Smart Pattern Generator” transforms any digital cross-stitch pattern available on the site into an adapted template precisely tailored to 4 standard Aida counts (14ct, 11ct, 10ct, and 8ct), ready for printing on water-soluble materials or tracing directly from your screen.
Essential Technical Rule: Material Compatibility
Several types of water-soluble stabilizers/materials exist on the market. Please review their usage rules carefully to avoid damaging your equipment or materials:
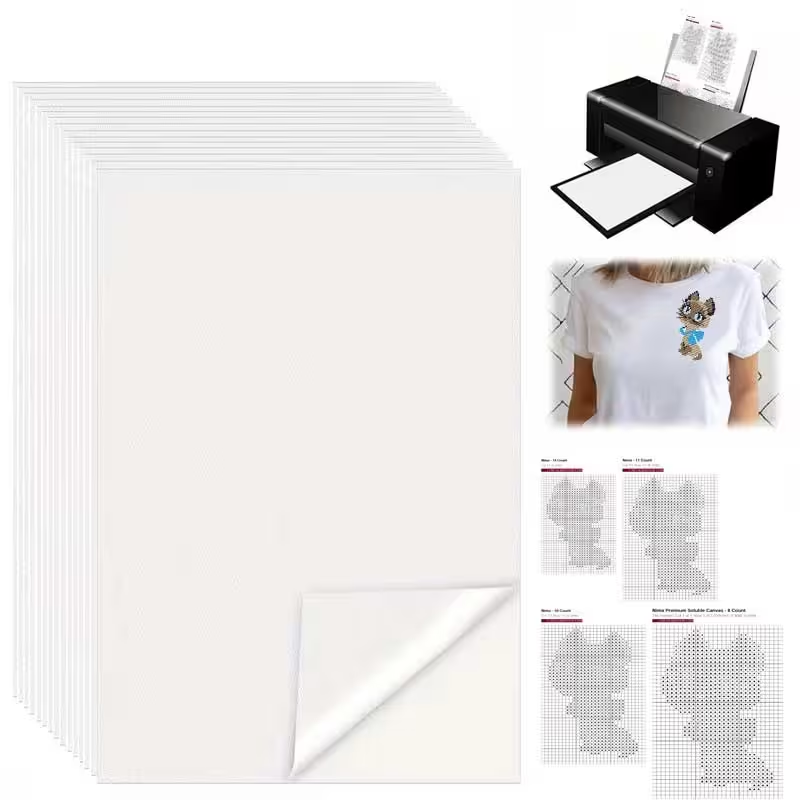
Water-Soluble Interfacing / Stick & Stitch (Non-Woven Paper — White / Adhesive)
- ✅ Inkjet printers ONLY: Do not pass through laser printers, as high heat can melt the adhesive backing inside the machine.
- ❌ Cannot trace from screen: Because it is thick, white, and opaque, light will not pass through it.
- 💡 How to use: Ideal for direct Inkjet printing. After printing, peel off the protective backing sheet, stick it onto your garment, embroider, and rinse away in water.
Water-Soluble Canvas Mesh (14ct / 11ct Coarse Grid)
- ❌ STRICTLY PROHIBITED in printers! Its thick, rigid grid structure will jam and melt inside a printer.
- ❌ No need for tracing dots: Since it is a physical mesh grid with pre-punched holes, you mark the grid cells directly on it using a marker.
- ✅ Designed for direct fabric basting: Baste the mesh canvas onto clothing and embroider directly through its grid holes (counted cross-stitch), exactly like working on standard Aida canvas.
- 💡 How to use: In our V4.0.0 generator, select your desired Count (e.g., 14ct or 11ct), check the physical embroidery size in centimeters, cut the canvas mesh accordingly, baste it onto your garment, and start stitching.
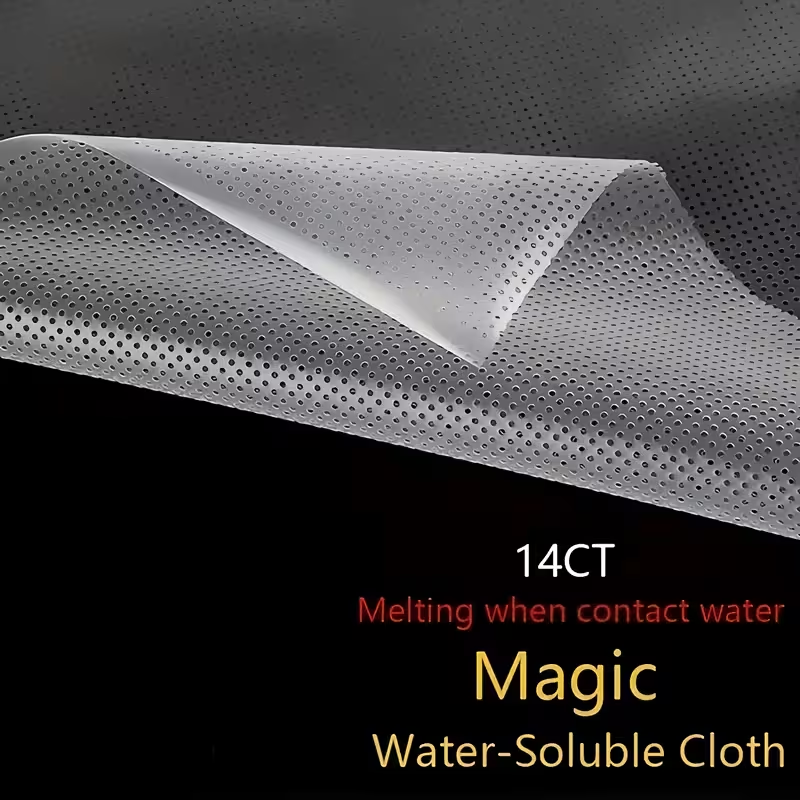
Water-Soluble Film (PVA Film — Transparent / Film-like)
- ❌ Do NOT use in printers: High temperatures in laser printers will melt the film and damage the drum. Inkjet printers will smudge ink across the surface.
- ✅ Designed for screen or paper tracing: Being 100% transparent, it transmits screen light perfectly (tablet/computer) and makes underlying paper patterns crystal clear.
- 💡 How to use: Print our generated pattern on standard office paper, overlay this transparent film, and trace the Hole Locators using a water-soluble marker—or trace the dots directly from your screen.
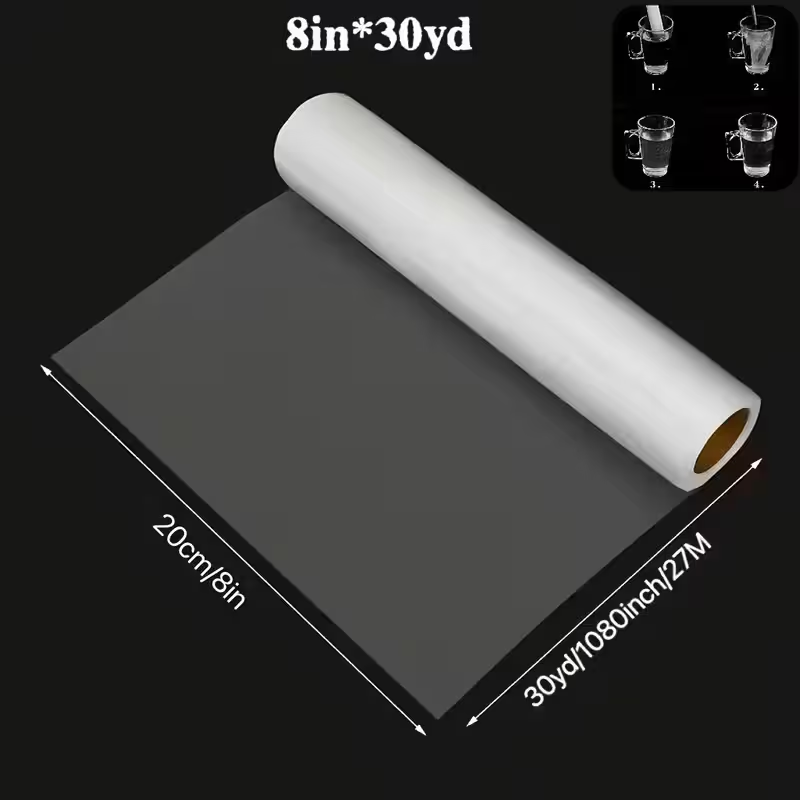
Step-by-Step Instructions
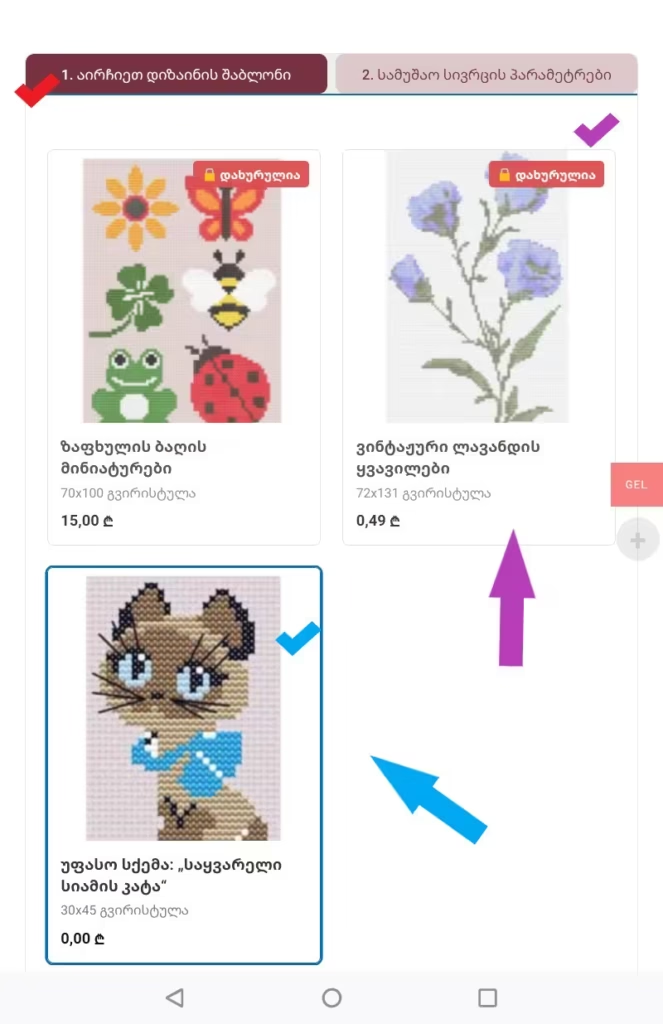
Step 1: Selecting a Design Template
Begin by picking your desired cross-stitch pattern under Tab 1. Select Design Template:
- Free Patterns: Available for immediate use if you are logged into your account.
- Paid Patterns: Marked with a red 🔒 “Locked” badge. They unlock in the workspace immediately after purchase on the website.
Step 2: Configuring Workspace Settings
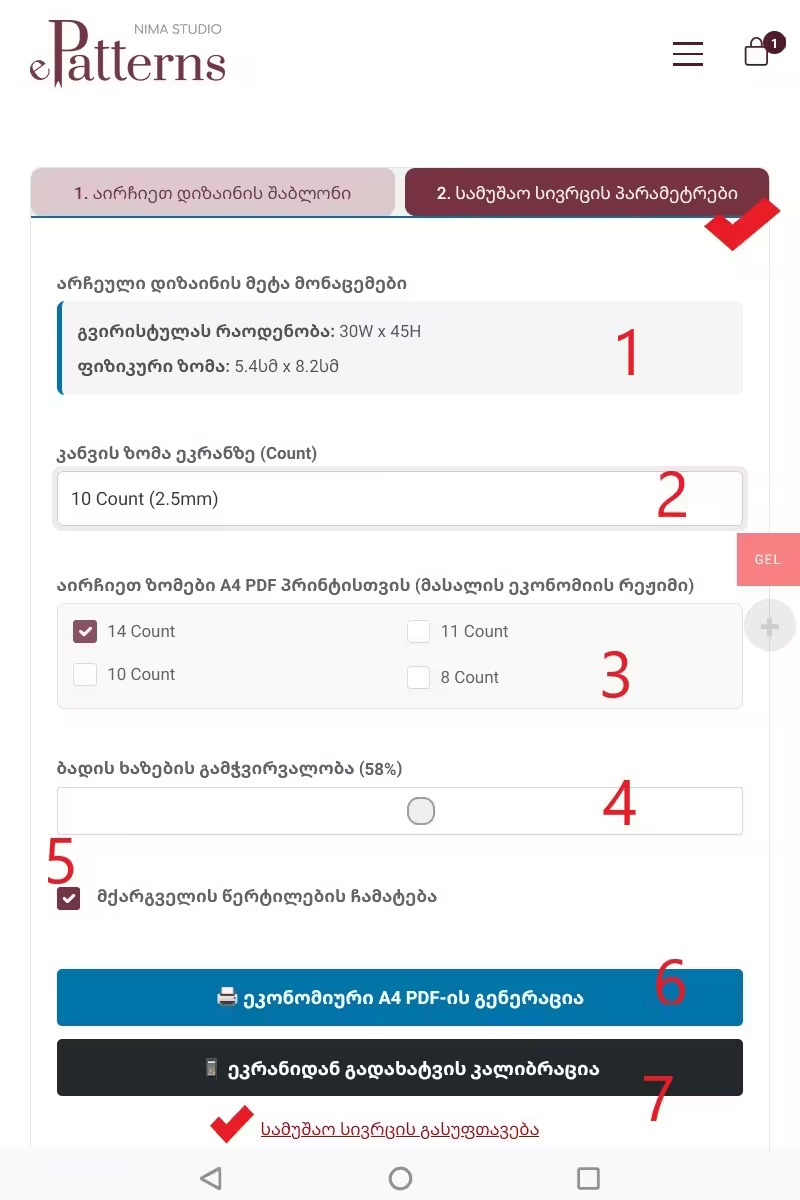
Once a design is selected, navigate to Tab 2. Workspace Settings:
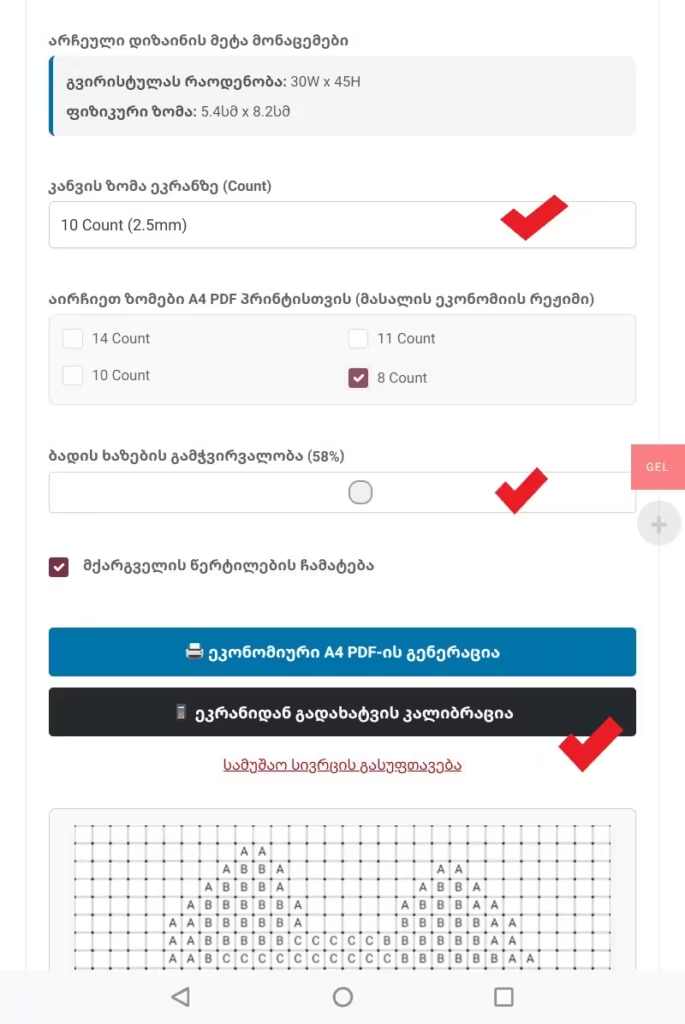
- Selected Design Metadata: Displays technical specs in real time (stitch count and physical dimensions in centimeters).
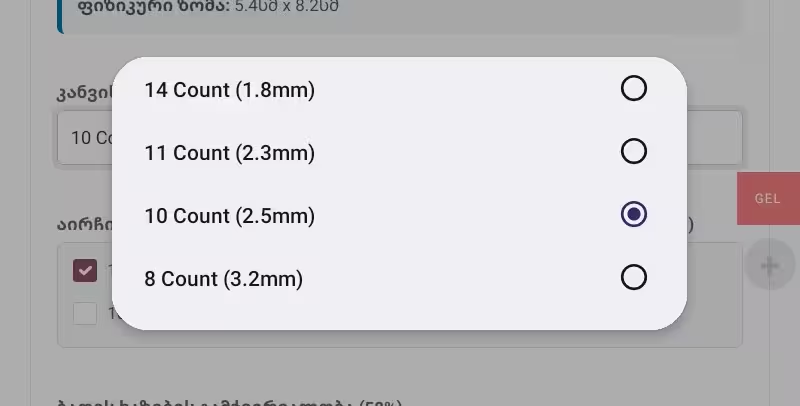
- On-Screen Canvas Size (Count): Crucial setting for screen tracing (14ct, 11ct, 10ct, 8ct).
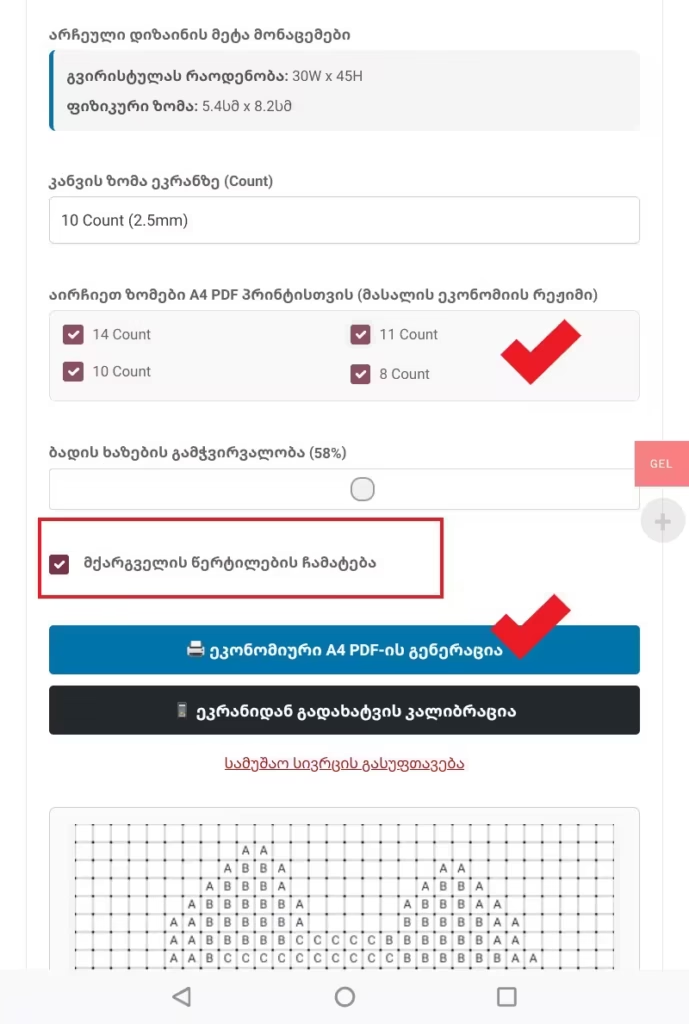
- A4 PDF Print Sizes (Material Saver Mode): Select which grid counts to download for reference.
- Grid Line Opacity: Adjust line contrast using the slider to prevent eye strain.
- Hole Locators (Stitcher’s Dots): Check this box to render dots at every grid intersection.
- Economical A4 PDF Generation: Instantly creates a printable PDF for office paper.
- Screen Tracing Calibration: Switches your display to manual screen-tracing mode.
Step 3: PDF File Generation & Material Economy
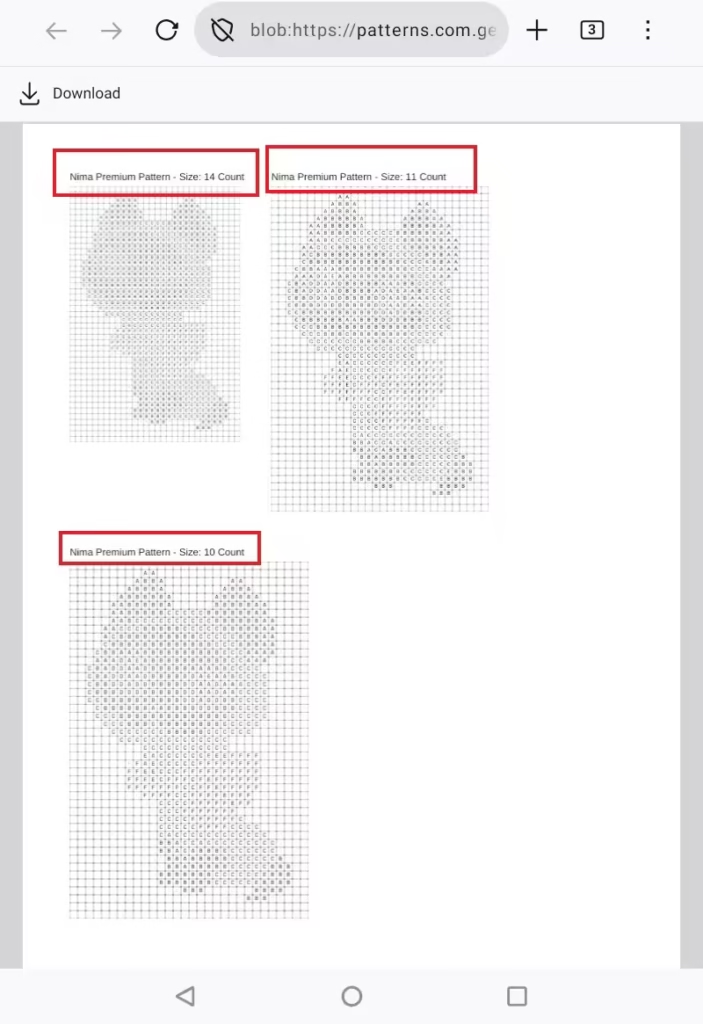
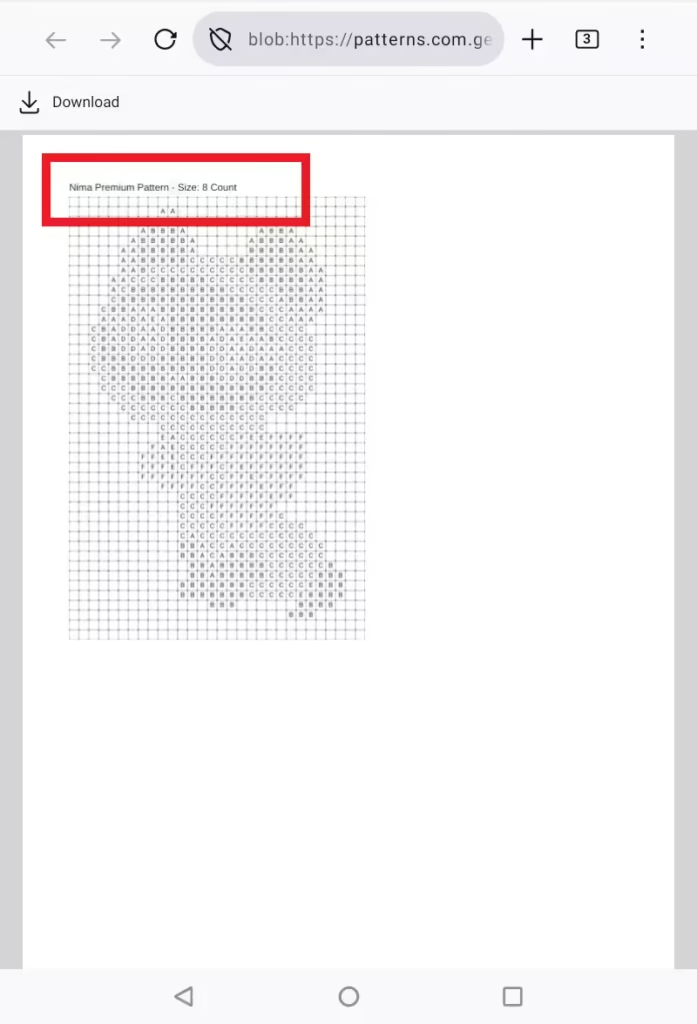
When choosing grid sizes for A4 PDF printing, you have two options for your reference template:
- All Sizes Combined (Standard Mode): Download a consolidated PDF and print all popular counts (14ct, 11ct, 10ct) on paper.
- Single Size (Material Saver Mode): If you know you are strictly using a 14ct canvas, select only 14ct. The system generates a PDF exclusively for this count, eliminating wasted paper.
Step 4: Safe On-Screen Tracing (Calibration & Screen Lock)
If you don’t have a printer or prefer to skip paper printing altogether by tracing directly from your phone or tablet onto PVA film:
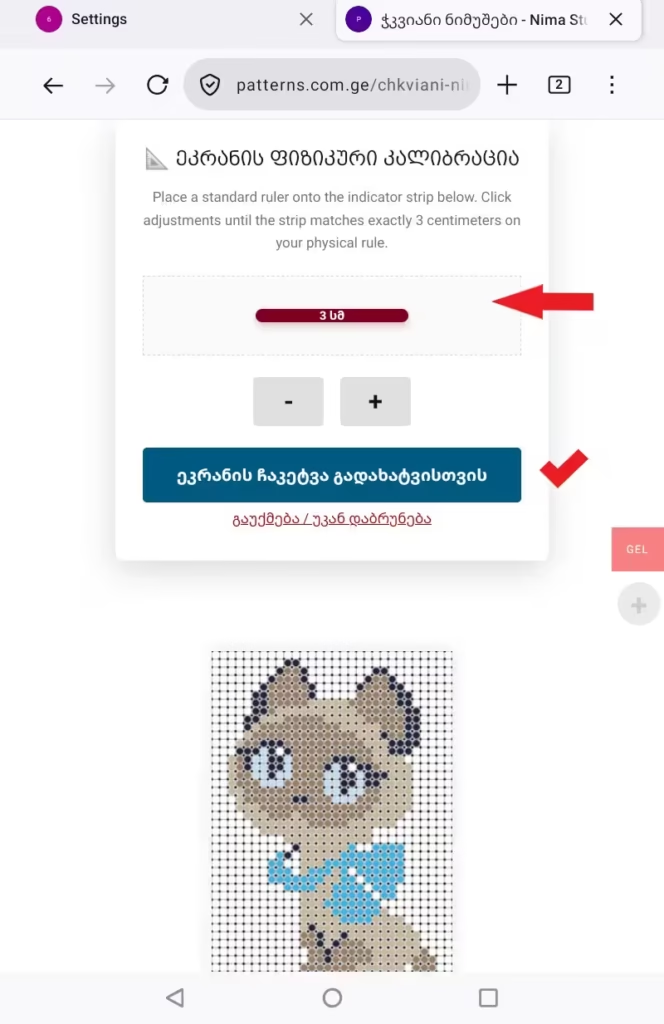
A) Physical Screen Calibration
Because screen dimensions vary by device, physical calibration ensures real-world accuracy:
- Place a physical ruler against the red calibration bar displayed on the screen.
- Press + or – until the red bar exactly matches 5 cm on your physical ruler.
- Tap the blue button: “Lock Screen for Tracing”.
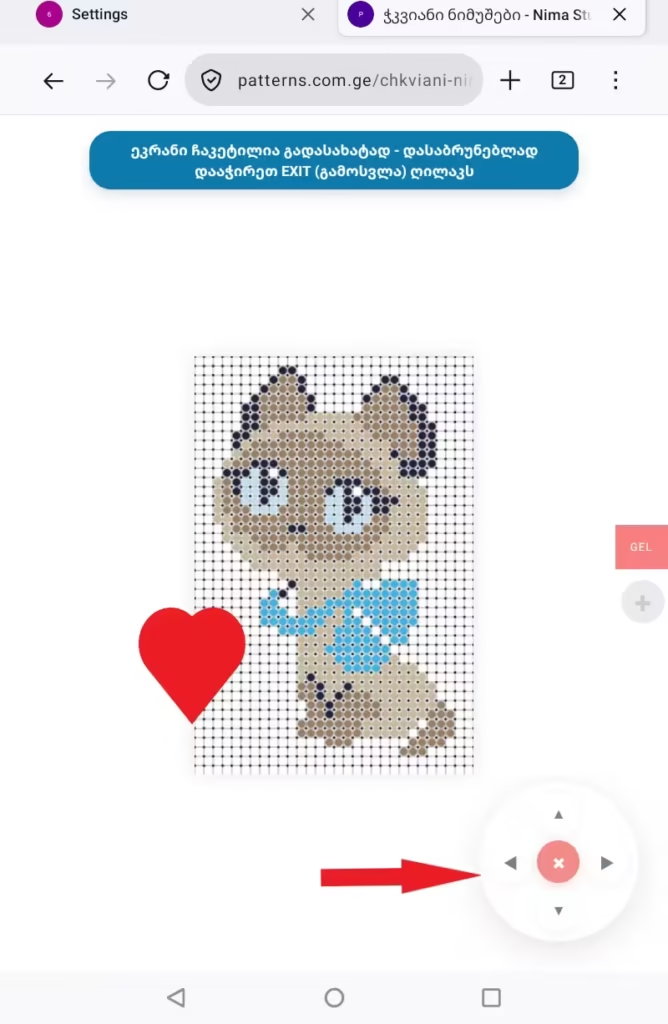
B) Locked Workspace & Joystick
Once locked, touch sensitivity across the workspace is completely disabled!
- Safely place your water-soluble film over the screen and trace the dots with a marker.
- Use the interactive joystick in the bottom corner to scroll across different sections of the pattern.
- When finished, tap the red central EXIT button to unlock the workspace.